Introduction
Strong and healthy nails could be due to high-quality press-on nails, or they might be sporting an acrylic manicure. Acrylic manicures are commonly used for longer nail shapes like almond, coffin, and stiletto, providing structure and durability to any nail style. While most people get acrylic manicures at salons, you can also experiment with DIY acrylic nails at home.
Before scheduling a salon, appointment or purchasing acrylic nail supplies, it’s a good idea to learn more about acrylic manicures in general. Here, we’ve gathered everything you need to know about acrylic nails from nail experts.
What are Acrylic Nails?
Acrylic nails are artificial nail tips that are attached to your natural nails using a strong, durable coating. They can be customized with various nail shapes, colors, and designs. Acrylics differ from press-on nails as they form a stronger bond with your natural nails. While at-home kits are available, it’s important to consider professional applications for first-time users.
Ingredients
The ingredients used to create Acrylic nails include:
- Acrylic liquid
- Acrylic powder
- Acrylic bowl
- Acrylic brush
- Polymer powder
Different Types Of Acrylic Nails
If you’re short on time, here are the main acrylic nail options: classic full-cover acrylics, acrylic overlays, acrylic tips, color powder acrylics, and French tip acrylics. Read on to learn about the durability, maintenance needs, and costs associated with each acrylic nail variety.
Full Cover Acrylic Nails
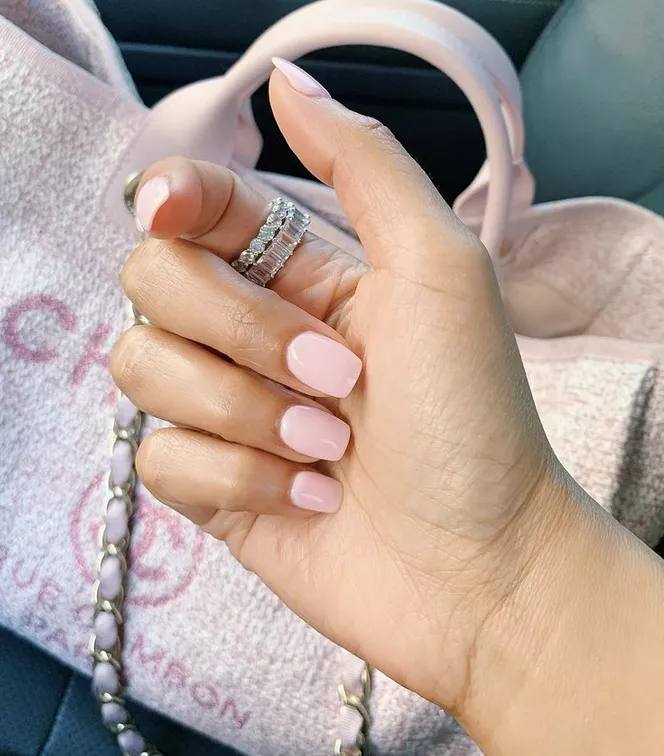
Acrylic nails, also known as full-cover overlays or tips, are a trendy way to enhance your natural nails. These artificial nails cover the entire nail plate and extend slightly beyond the fingertip, instantly transforming the appearance of your nails. With their larger surface area, full covers offer endless opportunities for creativity and personalization.
You can choose from various designs such as French manicures, playful prints, glitters, rhinestones, chrome powder, and more to elevate your style.
Durability and Maintenance
Full-cover acrylic nails offer exceptional durability and longevity in comparison to various other types of artificial nails. When the acrylic polymer and monomer powder are applied and cured under a UV or LED lamp, they form a tough, protective shell. With proper care and maintenance, most sets can endure for more than a month.
Acrylic Overlays
Acrylic overlays are a form of artificial nail enhancement that is placed on top of the natural nail to create a sleek, professional appearance. They are made from a lightweight blend of acrylic that is molded and shaped over the natural nail to increase its length, thickness, and durability. Unlike nail tips or full sets, overlays only cover the surface of the nails rather than the entire nail plate.
Durability and Maintenance
Acrylic nail overlays, when applied correctly, can remain intact for more than three weeks before requiring a refill or fresh application. The longevity of these overlays is influenced by various factors, including the application technique, the skill of the nail technician, aftercare practices, and lifestyle choices.
Acrylic Nail Tips
Pre-formed artificial nails known as acrylic nail tips are affixed to the natural nail’s end before applying acrylic powder and liquid. These tips serve as the base for constructing an acrylic nail extension, delivering stability and support to the acrylic material before shaping it into the preferred style.
Crafted from resilient yet pliable materials such as ABS plastic or polymer powder, these lightweight tips are available in assorted shapes including square, round, squeal, ballerina coffin, and pointed designs to cater to various nail aesthetics.
Durability and Maintenance
When properly applied and maintained, acrylic nails with tips can typically last an average of 2-3 weeks. The longevity is influenced by various factors, such as: Ensuring a skilled nail technician applies the tips to prevent lifting or cracking Using high-quality nail glue and acrylic products during the application process.
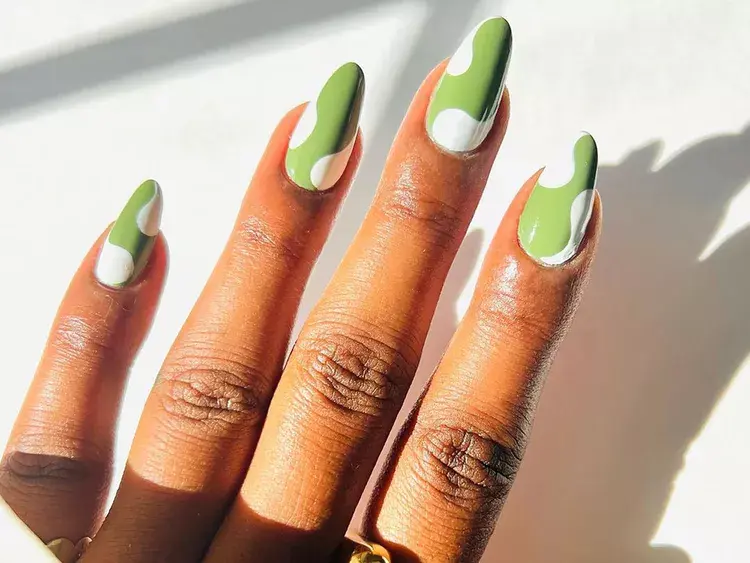
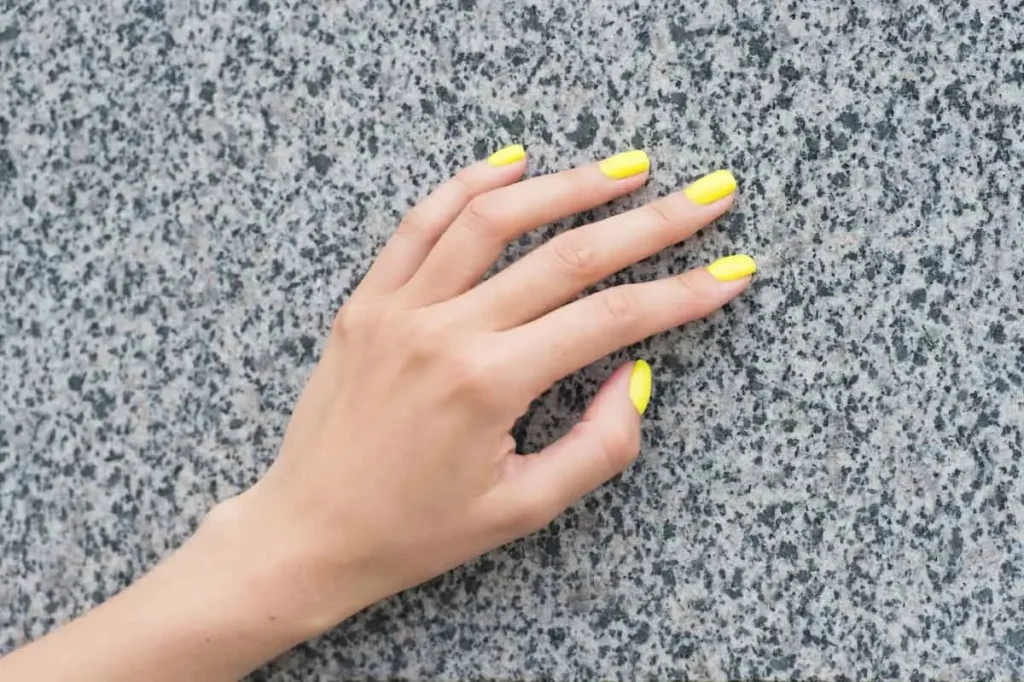
Color Powder Acrylics
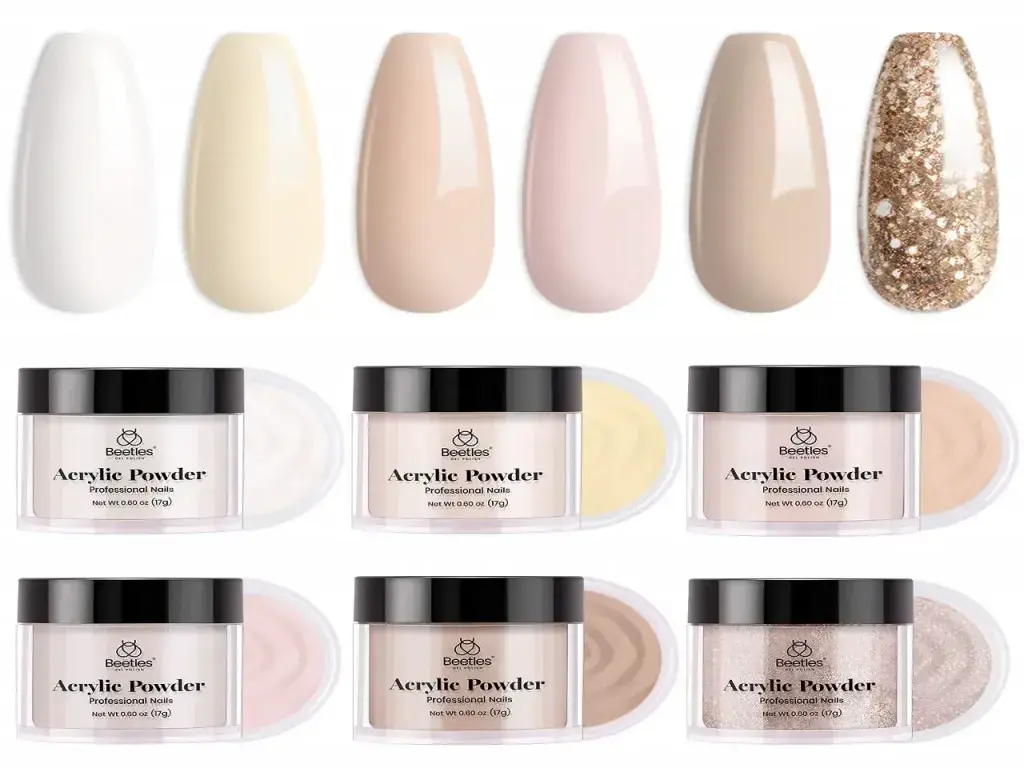
Acrylic nails made with colored powder are a trendy choice, offering a wide range of vibrant and playful nail designs. By combining the powder with a liquid monomer, technicians create a thick, easy-to-apply acrylic mixture that can be shaped to fit any style. The possibilities for creative nail art are endless with color options ranging from bold neon to subtle nudes.
Durability and Maintenance
They form a tough, protective layer over the natural nail, offering resistance against chipping, cracking, and breakage. Typically, fills can last 2-3 weeks before requiring upkeep. To maintain the appearance of color powder acrylics, it’s important to refrain from picking at the nails as this can lead to lifting. Daily application of cuticle oil helps keep the nail bed hydrated.
It’s advisable to visit a salon for removal every 2-3 months to maintain the integrity of the nails and prevent damage.
French Tip Acrylics
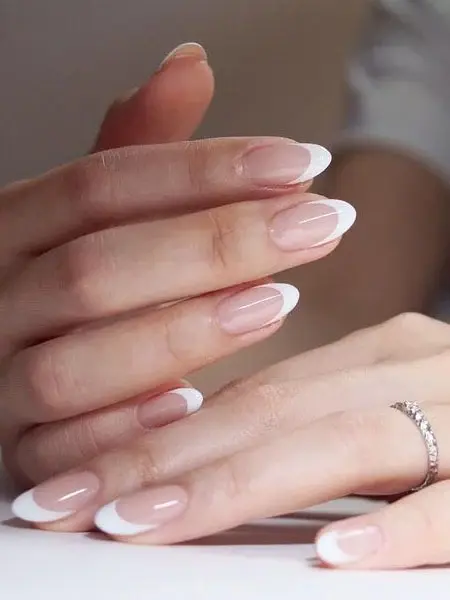
French tip acrylic nails are a trendy nail style that features white-painted tips, while the rest of the nail is left natural or with a sheer pink or nude polish. The white tip is designed to mimic the shape of the lunar arc, creating a timeless and elegant look that enhances the appearance of the nail bed.
Acrylic, a combination of liquid and powder polymers, is used to lengthen natural nails by applying it over the nail and shaping it into a tip. The iconic French manicure style is achieved by adding a white edge to the acrylic tips. Compared to regular polish, acrylic French tips are known for their enhanced durability and longer-lasting finish.
Durability and Maintenance
Acrylic French tip nails offer exceptional strength and durability due to the acrylic polymer, which forms a tough, protective layer over the natural nail. This layer effectively prevents chipping, cracking, and breakage, outperforming regular polish. As a result, acrylic nails typically last 2-3 weeks before requiring fills, compared to just 1 week for regular polish.
Step-by-Step Guide on How to Do Acrylic Nails at Home for Beginners
For a successful at-home acrylic nail application, I’ve outlined five essential steps. Each step is crucial for ensuring a smooth application and maintaining the health of your natural nails. Before you begin, it’s important to have all the necessary supplies within easy reach. Once you start, it can be difficult to pause, so ensure everything is readily accessible.
Stage one – Prepare your Nails
The initial step involves preparing the nails, which is crucial for enhancing the acrylic application and maintaining the health of your natural nails.
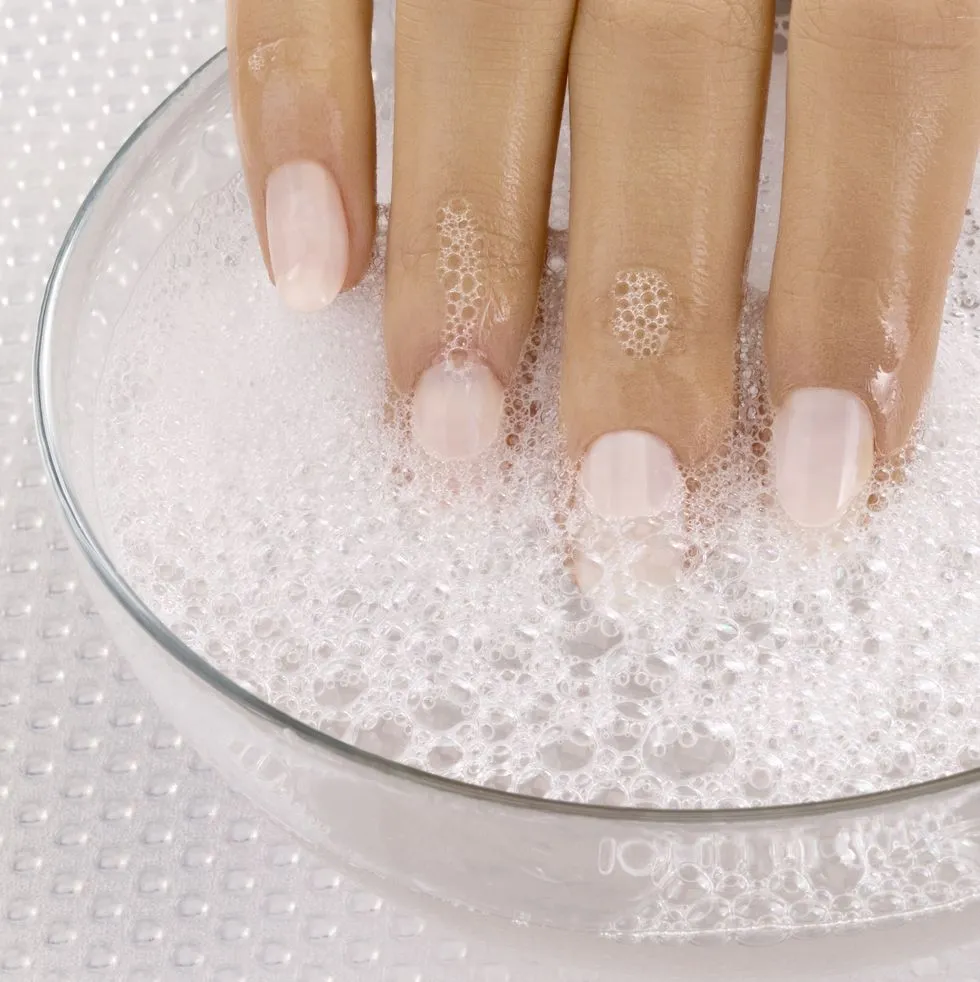
- To begin, wash your hands with warm soapy water to ensure cleanliness before applying the acrylic.
- If your nails are long, trim them so that they are just below the tip of your finger to prevent them from growing too long under the acrylic and to promote hygiene.
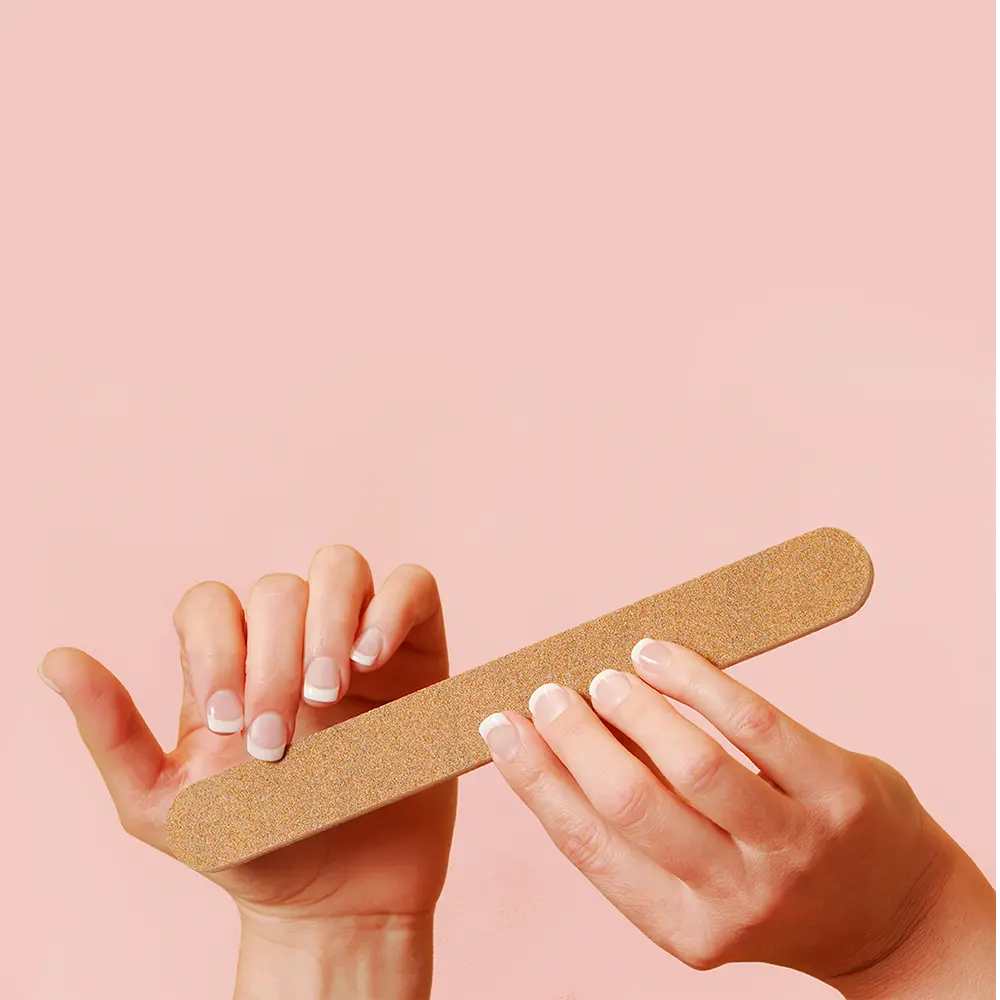
- Next, file and shape your nails to create a smooth surface and ensure that the shape complements the desired acrylic shape.
- It’s important to use a nail file with 240 grit to remove the shine from your natural nail bed, as this will improve the adhesion and longevity of both the acrylic and nail tip if you choose to apply one.
- When filing, be sure to follow the direction of nail growth to avoid damaging the nail plate layers and weakening the nails.
- Finally, treat your cuticles without cutting them, as there are no benefits unless done by a professional.
- Cutting cuticles can lead to increased bacterial growth.
Stage Two – Applying Nail Tips
- To avoid using nail tips and apply acrylic directly to your natural nails, proceed to step three. There are two kinds of nail tips available: full tips that cover the entire nail, and half tips that only cover the top portion.
- For longer-lasting results when applying acrylic, it’s recommended to use half tips, as applying acrylic directly to your natural nail is more durable than using full tips, which function similarly to press-on nails.
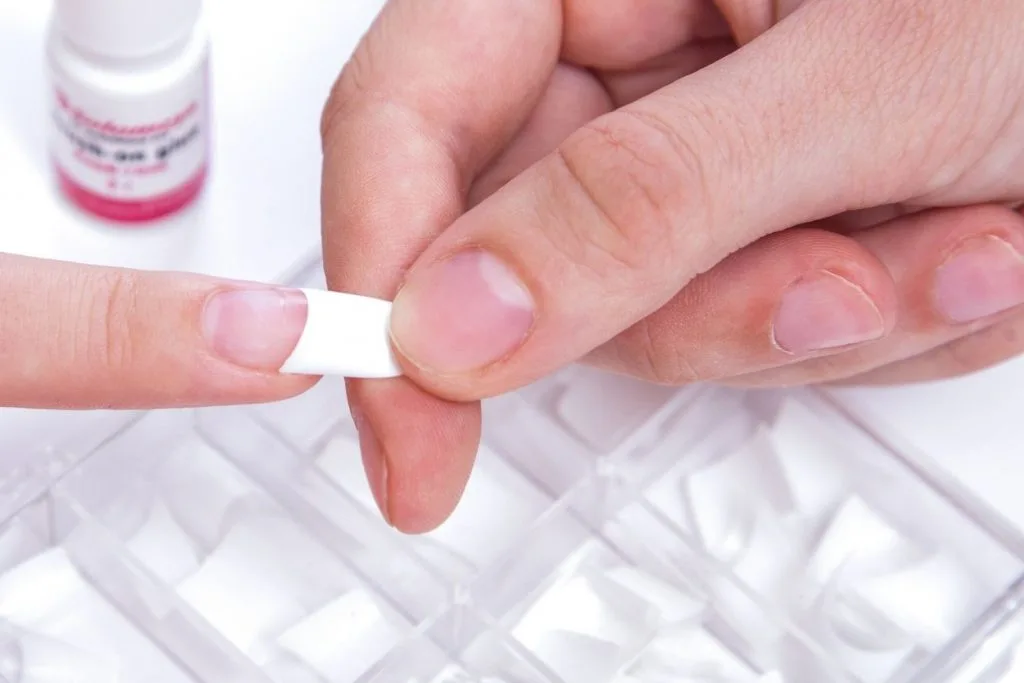
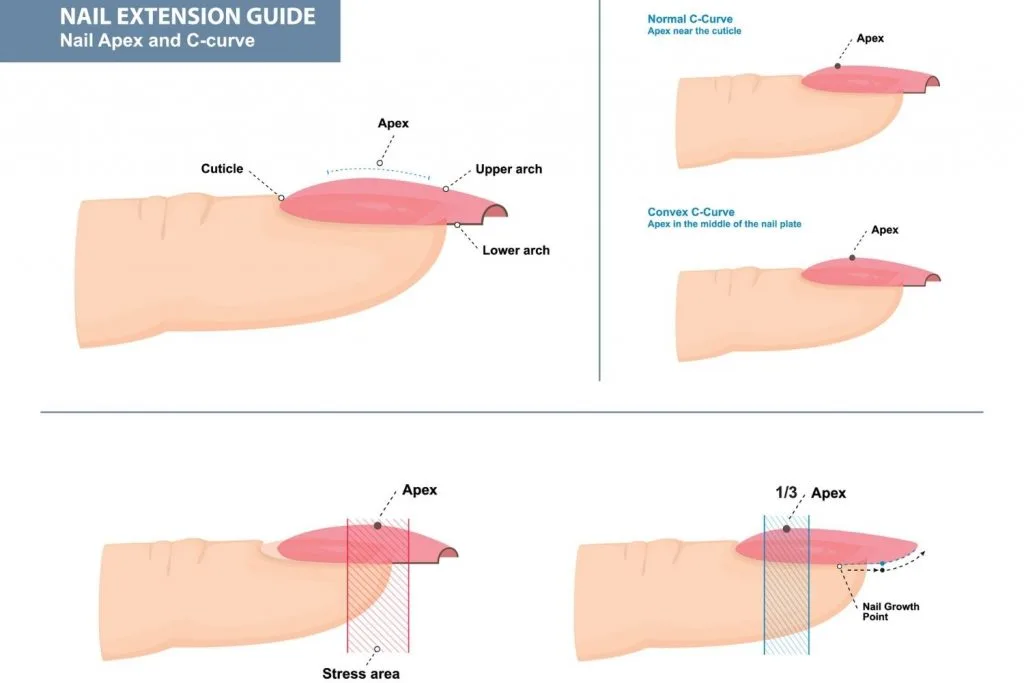
- When applying nail tips, begin by selecting the appropriate sizes for each nail. Look for a nail tip that best matches the C-curve of your natural nail for a more natural appearance.
- Ensure that each edge of the C-curve on the nail tip aligns with both edges of your nails (as shown in the photo below).
- After determining the correct sizes for each nail, you can start attaching them with glue. A helpful tip is to begin by gluing the tips onto your dominant hand, as this will facilitate the process for your non-dominant hand.
- Gently position and press down on each tip for about 10 seconds to ensure a secure attachment, repeating this process for all nails. Once all tips are attached, trim them to your preferred length, cutting them slightly longer than desired to allow for shaping during filing.
Stage Three – Dehydrate and Prime your Nails
You need to do this after applying nail tips.
- Before commencing the next step, cleanse your hands with warm, soapy water to eliminate any lingering nail filing residue. Ensure your hands are thoroughly dry.
- Utilize a lint-free wipe to thoroughly clean each nail, ensuring they are all free of debris.
- Once prepared, apply a single coat of nail dehydrator solely to your natural nails, excluding the artificial tips that lack moisture.
- After application, allow 1 to 2 minutes for the dehydrator to fully absorb and take effect. Your nails will appear paler and develop a rougher texture.
- Following the dehydrator’s application and drying process, proceed with applying primer.
- Similarly to the dehydrator, apply a single coat of primer exclusively on your nail beds; however, this time it can also be applied on the tips.
- Apply a thin layer of primer as excessive amounts can saturate the nail plate and lead to chemical damage or hinder acrylic adhesion.
- Allow time for the primer to dry before proceeding further.
- Wait 1 to 2 minutes before continuing with additional steps if necessary.
Stage Four – Applying the Acrylic
Once your nails are properly prepared, you can begin the process of applying acrylic. It’s important to have the acrylic powder and liquid readily available, as the mixture dries quickly once applied. Ensure that you have all necessary supplies on hand and are ready to apply the acrylic to your nails promptly.
- Start by immersing your brush in the liquid monomer to guarantee that the bristles are evenly coated. Once your brush is prepared, dip it into the liquid monomer once more, and gently wipe one side of the brush on the edge of the pot to check for excess moisture. This process ensures that your brush is not overly saturated with liquid.
- Acrylic beads are formed by combining acrylic powder and liquid monomer to create a ball that is applied to the nail. It is crucial to select the appropriate type of acrylic bead for your acrylic nails to set correctly. There are three varieties of acrylic beads: wet, dry, and ideal.
- Excessive liquid results in a wet bead, causing the acrylic to become thin and runny. Conversely, insufficient liquid or excessive powder leads to a dry bead, resulting in the acrylic becoming dry and heavy. This is particularly relevant in the context of acrylic nails.
- Getting the perfect balance to create the correct type of bead isn’t going to happen the first time, so don’t worry if you have to try a few times before you get the hang of it.
- After achieving the ideal bead, your goal is to position the acrylic at the highest point of the nail, right at the junction of the natural nail and the nail tip if you’ve applied tips (as depicted in the diagram). This area is where the nail is thickest. Subsequently, you should delicately pull the acrylic towards the nail’s tip and gently press it down until you’ve evenly coated the entire tip.
- With a second bead slightly smaller than the first, place it just above the first bead. Drag the bead towards the cuticle area without touching it, and again even it out to a smooth layer. You can go over the first acrylic bead if you have leftover acrylic. If you find that the tip area is thin, you can add a little more acrylic to the tip and drag it down your nail.
- Pro-tip Keep cleaning the brush.
Stage Five – Final Touches
- Now it is time to shape and smooth out the edges. To make sure your nails have fully dried, tap them gently, and if you hear a clicking sound, this means they have dried.
- To shape your nails and smooth out any ridges, use a nail file with a grit of 180 – 220, as it’ll give you more control over the shape and won’t take off much length. Try to define the shape you want and if you have any bumps when applying the acrylic, then smooth out those areas.
- When you are happy with the nails’ shape and appearance, buff them to even out the nail bed and give it a smooth finish.
- If you want to paint your nails, you can do it now. With regular nail polish, use two coats to ensure that the nail is evenly covered and the polish is pigment enough. Once all the nails are painted, leave them to dry for about 15 to 20 minutes.
- When your nail polish is dry, you can apply a topcoat. You only need to apply one coat of the topcoat, but make sure to cover the edges and the tip to seal the nail polish properly. Leave to dry for 10 to 15 minutes; once it is dried, gently massage a cuticle oil or moisturizer into your cuticles and skin around the nail.
Acrylic Nails At Home: Removal
All you need to do is put some hot water into a bowl and soak your nails for 15 to 20 minutes; if you want to make it more effective, you can place a smaller bowl filled with acetone into the hot water and soak your nails in the acetone for 10 to 15 minutes.
How to do It Safely
When it comes to removing acrylics, try to avoid scraping them off. If you scrap the acrylic off, it’ll most likely end up scraping off the top layers of your natural nails, which will end up weakening your nails.
To avoid scraping your nails, make sure that the acrylic has been long enough to soak off. A good way of making the acrylic come off easier is to file the top layers before soaking them. This allows the hot water or acetone to penetrate further down into the acrylic, which will make it easier to come off.
What’s the Difference Between Acrylic Nails & Gel Nails?
- Acrylic nails are created by blending polymer powder and liquid monomers, while the gel is similar to traditional nail polish but thicker and more viscous.
- If your nail technician mixes two substances in front of you, it’s acrylic; gel doesn’t need any pre-mixing.
- Gel belongs to the same family of ethyl methacrylates as acrylic, but instead of polymerization occurring through a chemical reaction between two products, the hardening or ‘curing’ takes place under a UV or LED light that activates a photoinitiator in the product, explains Smith. These two methods can be mistaken for each other as they both fall into the category of artificial nails.
- Gel nail polish can be applied over acrylic nails. Additionally, if you want nail extensions for your gel manicure, they are sometimes made from acrylic and then attached to your nails with glue.
- The gel is my preferred product to work with, says Smith. It usually has no smell, and its versatility allows for endless creative possibilities. There’s a wide range of products available under the gel umbrella.
FAQs
Question: Are acrylic nails damaging to natural nails?
Answer: If applied and removed properly, acrylic nails should not cause damage to the natural nail.
Question: How long do acrylic nails last?
Answer: Acrylic nails typically last 2-3 weeks before needing a fill or maintenance.
Question: Can I paint over acrylic nails with regular nail polish?
Answer: Yes, you can use regular nail polish on top of acrylic nails
Question: Can I get my acrylic nails wet?
Answer: While it’s best to avoid prolonged exposure to water, acrylic nails can withstand normal activities like washing dishes or showering.